


How to Start
Life Story Inserts
Life Stories Insert is a new system where you can document your stories in a simple, quick, and fun way.
The basic consists of a system of loose sheets that you easily put into an album and because the pages already have some basic formatting, you can use them right away for a simple layout, yet still very versatile to use for more complicated layouts.
The size is 6x8 inches which ensures that the album and the pages you create are not too large so it’s very manageable and easy to work with.
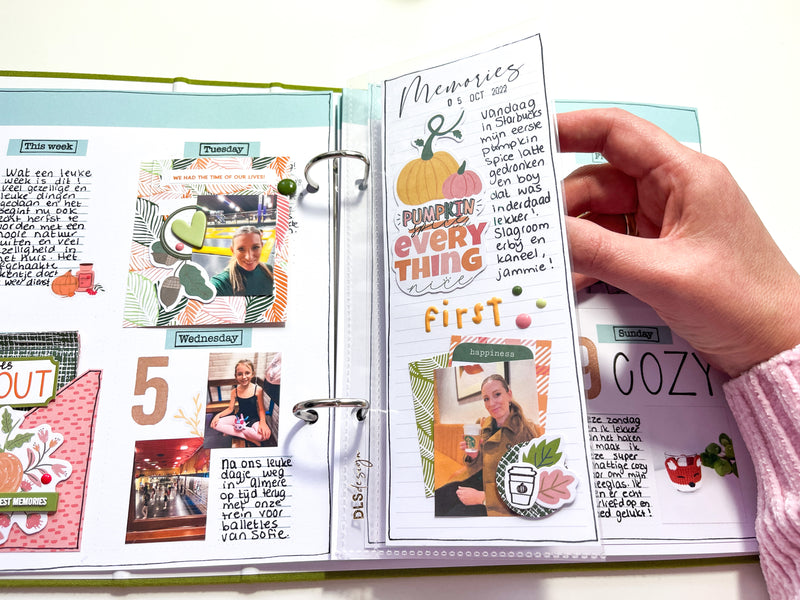
The system focuses on easy journaling with the ability to add photos and other memories.
There are different types of inserts that you can all mix together should you wish. The pages are undated or blank, allowing you to control what and when you document and the inserts are of unlimited use.
1. Start small and simple
If you want to start with the Life Story Insert, it helps if you start with a project that is not too big. An annual album is immediately very big to start with.
Instead, choose topics or events from which to create a small album. For example, start with events such as a weekend getaway, a birthday, or a booklet of highlights from the baby's first year.
Whatever you choose, choose a project that is limited enough to complete. This will keep it fun! Because nothing is more frustrating than a project that doesn't get finished.
2. Choice of insert
Then, of course, we come to choose the inserts.
Fortunately, there are lots of insert you can work in. Do you want a seasonal or year-round insert? Or perhaps is the baby book a better fit for you. Whatever insert you take, they fit perfectly in the 6x8 albums.
3. Choose photos
Keep in mind at all times that Memory Keeping is all about capturing life and memories. The stories you tell are at least as important as the photos that illustrate the story.
We often hear that people want to process too many photos at once because they can't choose from all the photos we take. Especially in this age where we can take so many photos with our phones, we have a huge mountain of photos available. That can cause you to spend all your available hobby time fiddling with photos and nothing ends up coming out of your hands. That's a waste right?
So our tip is: limit the number of photos you use. You don't have to use them all to tell the story. Even seeing one photo will bring back memories. So choose one or more favorites to use. Choose the sharpest photos with the best lighting. Also, choose photos of details at an event. For example, choose a photo of the feet of your baby, the first hug, or a favorite book. Food photos can also be great fun to capture. Be creative!
4. Start buying the basics
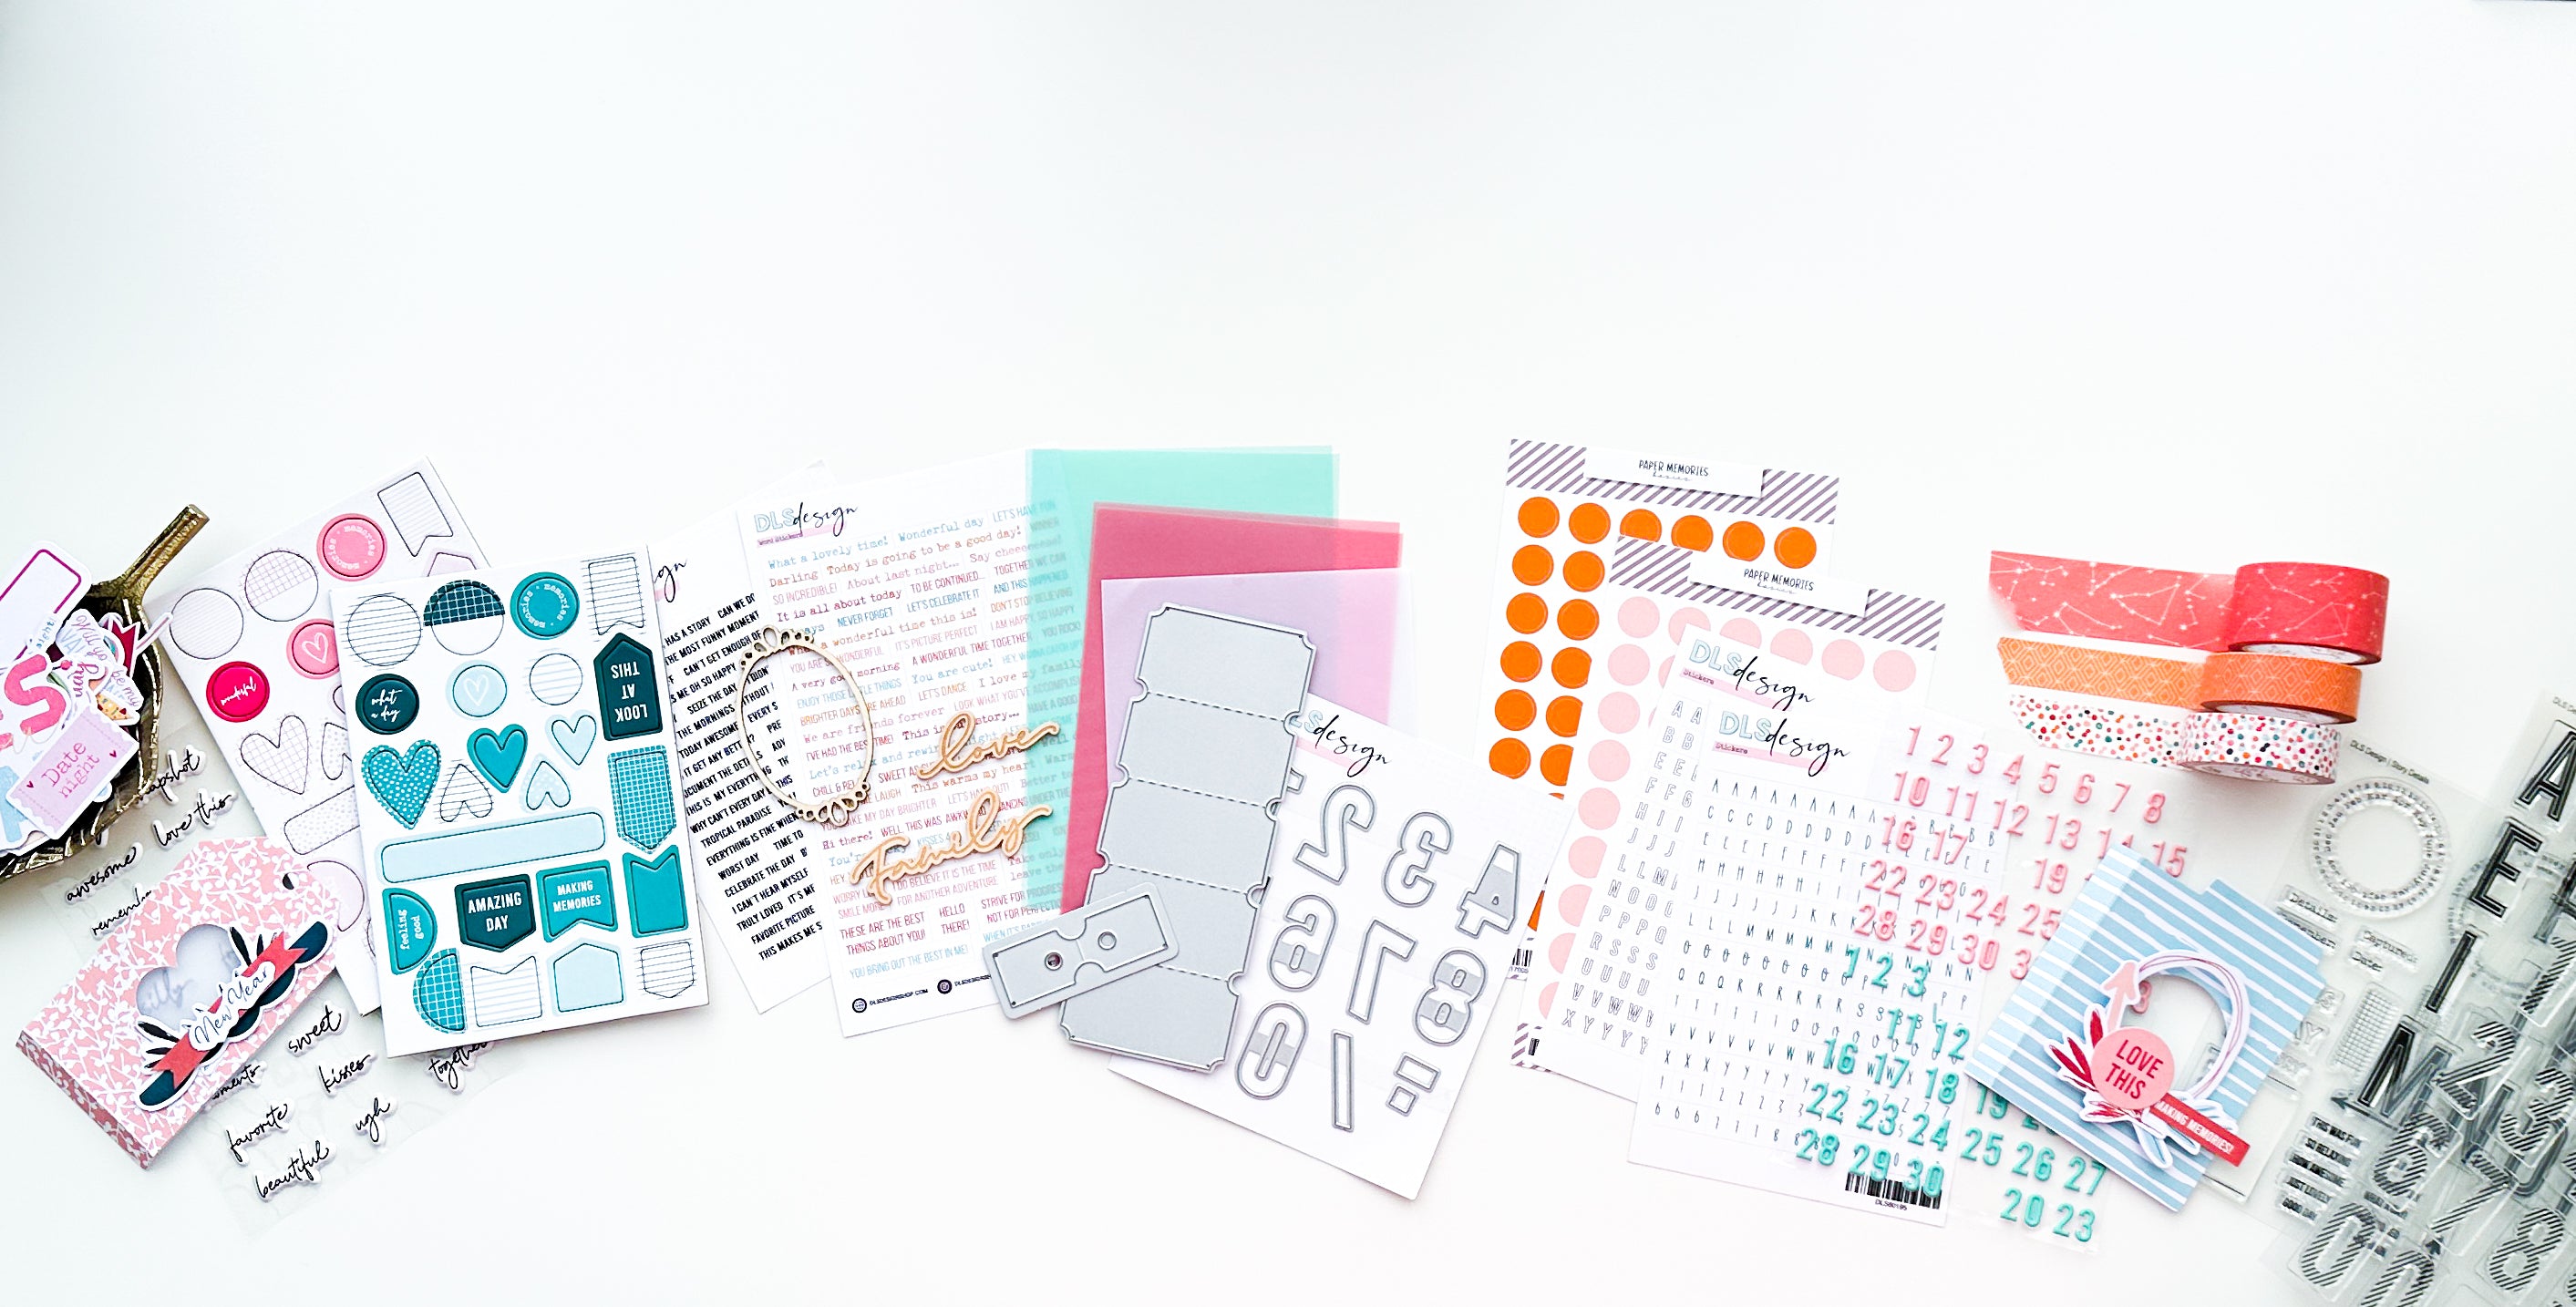
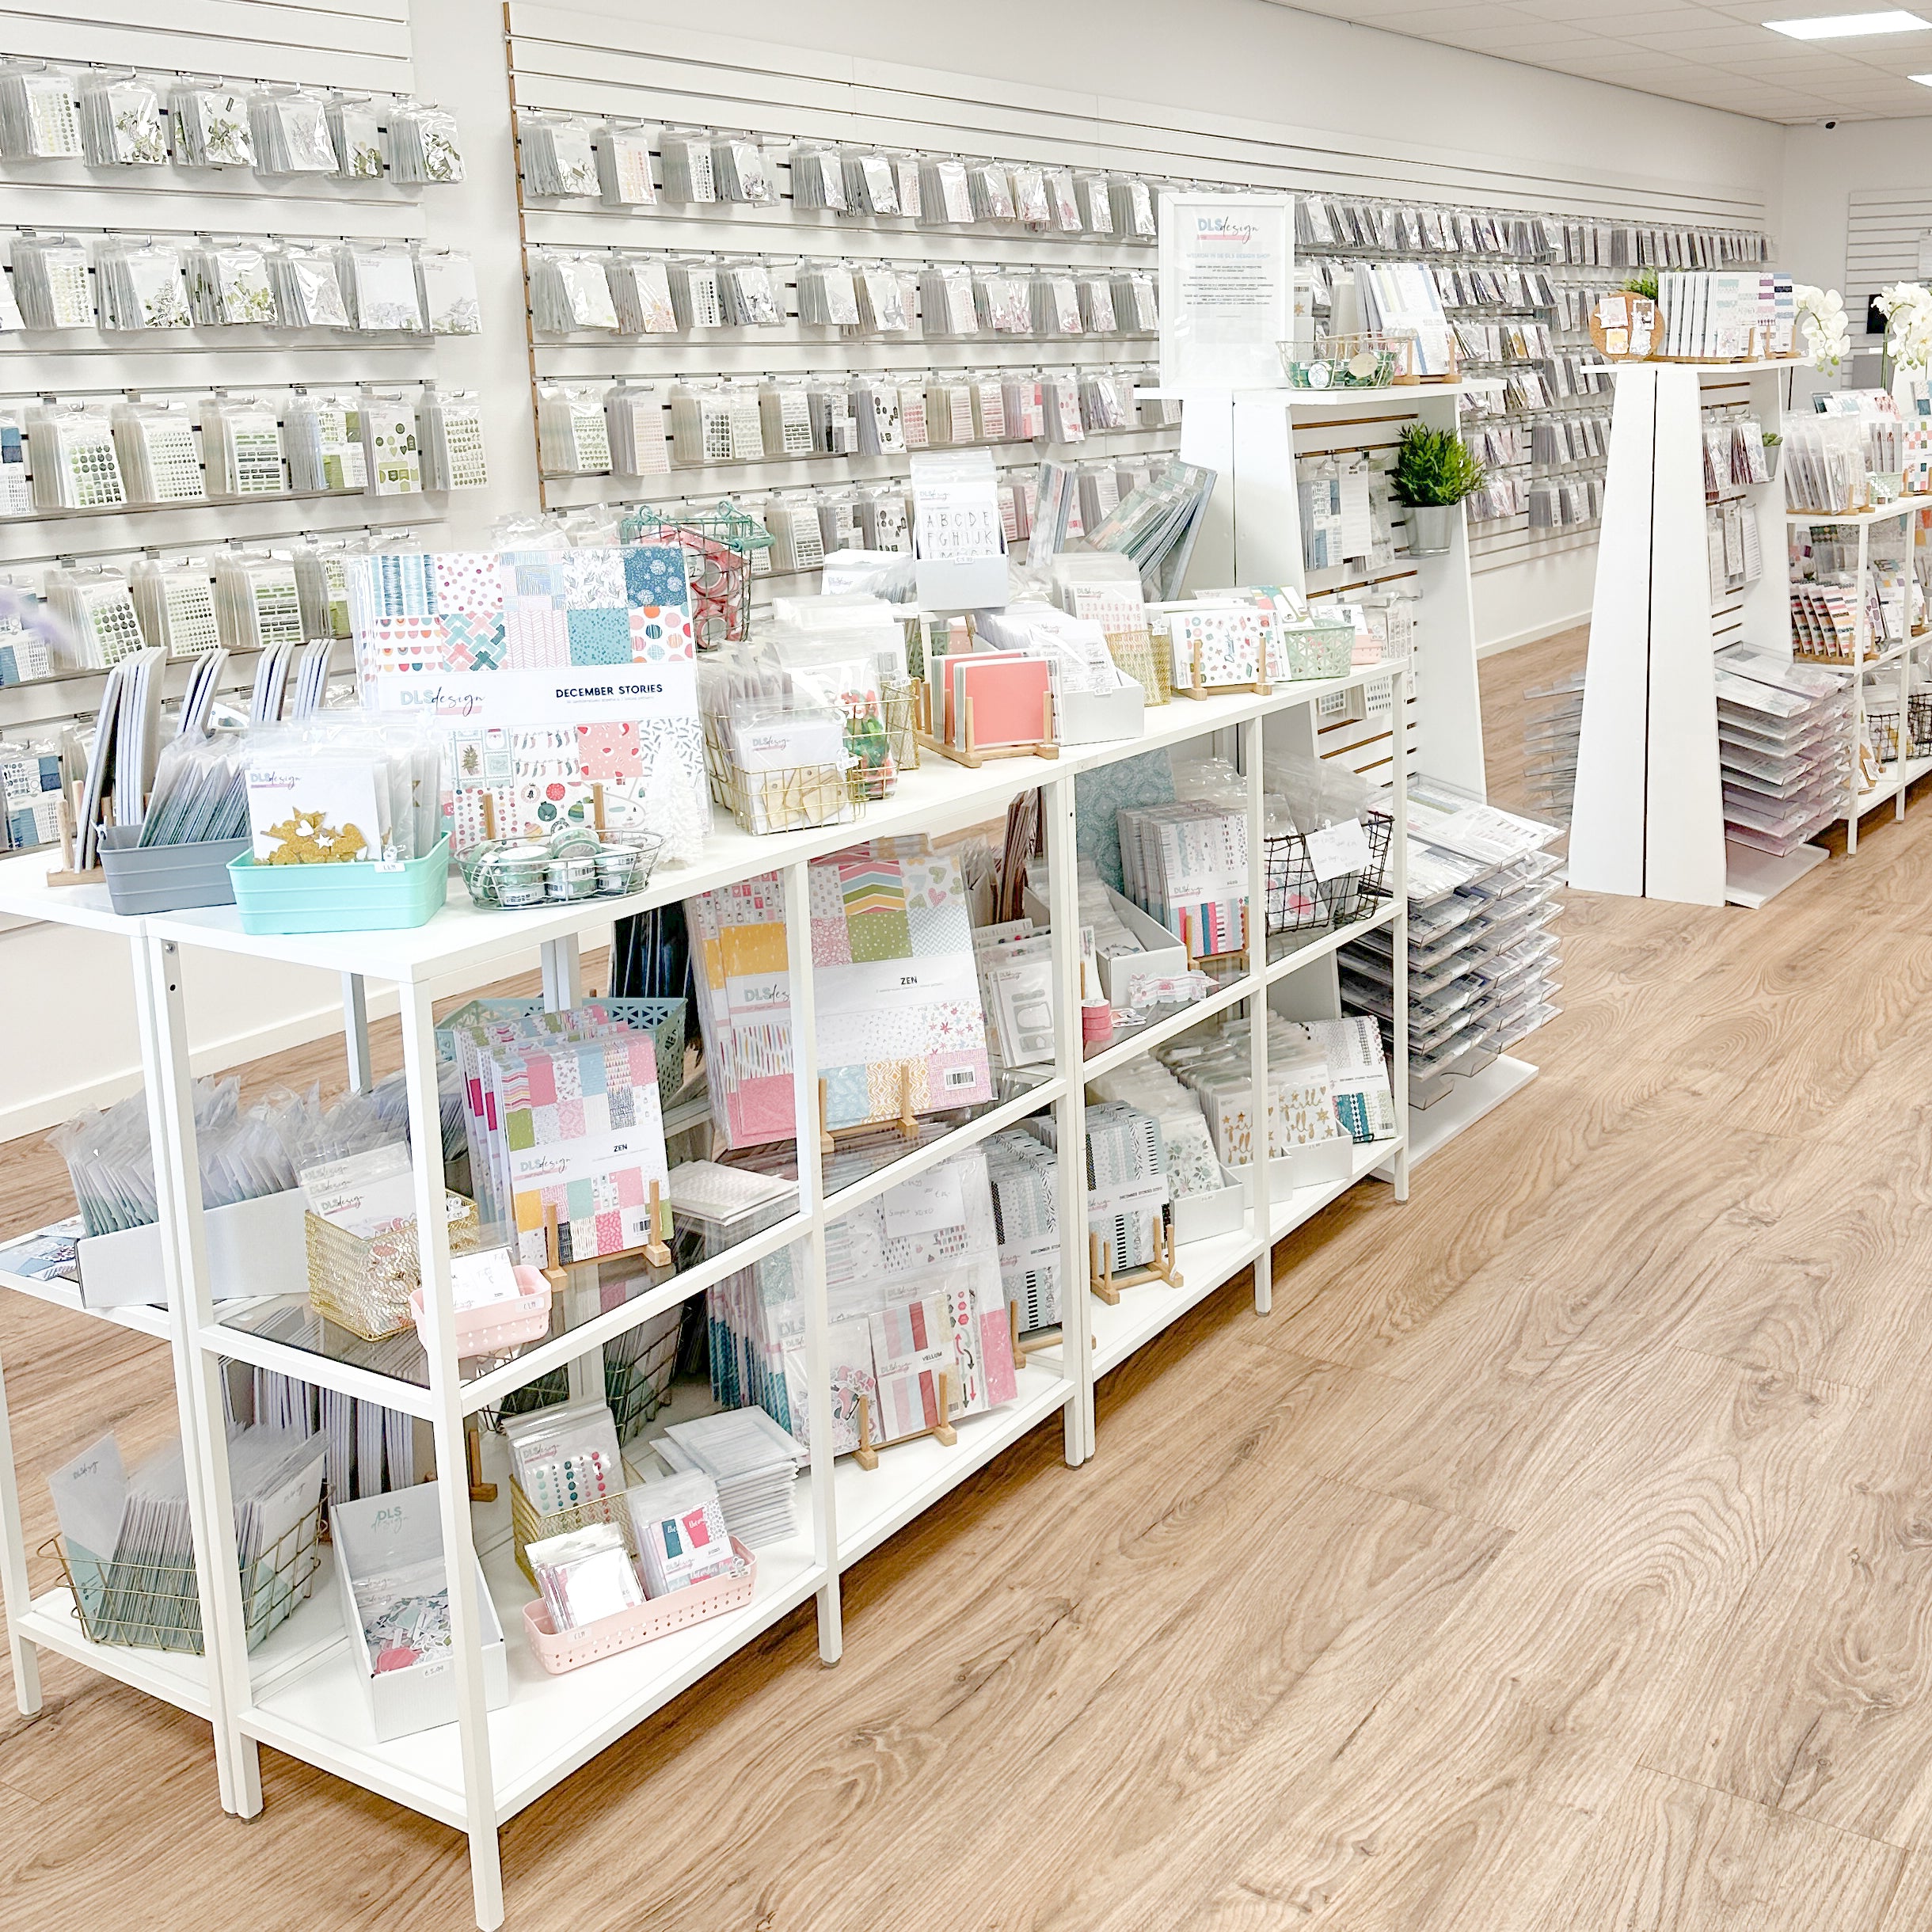
There are, of course, lots of materials for sale. Some are more beautiful than others and it is very tempting to buy a lot. We advise you not to rush and to really start buying the basics. Of course, you will need tools like glue, tape, scissors, or a paper cutter. An album and inserts are also essential.
In addition, of course, you want to create a beautiful project and you'll want designer paper and decorations. Those decorations are called embellishments.
Above all, choose paper and embellishments that match the theme of your project.
If you have a hard time picking out materials that are nice together, check out Paper Memories which is perfect for any beginner and when you start with the inserts.
DLS Design also has several kits available. For example, there is the [Document] Life Stories Scrapbook kit. A kit is a package of all products to make beautiful memory-keeping projects. The exclusive products are carefully designed and put together each month so that the products always match perfectly. So you no longer have to waste precious time picking out matching products. The scrapbook kit always includes 12x12 inch scrapbook paper, a stamp and changing embellishments to decorate your project.
With a DLS kit, it is very easy and quick to create a page. You can choose a subscription where you get a nice discounted kit every month to capture your memories. It is also possible to purchase a single kit and try out if a kit is for you.
5. Get creative
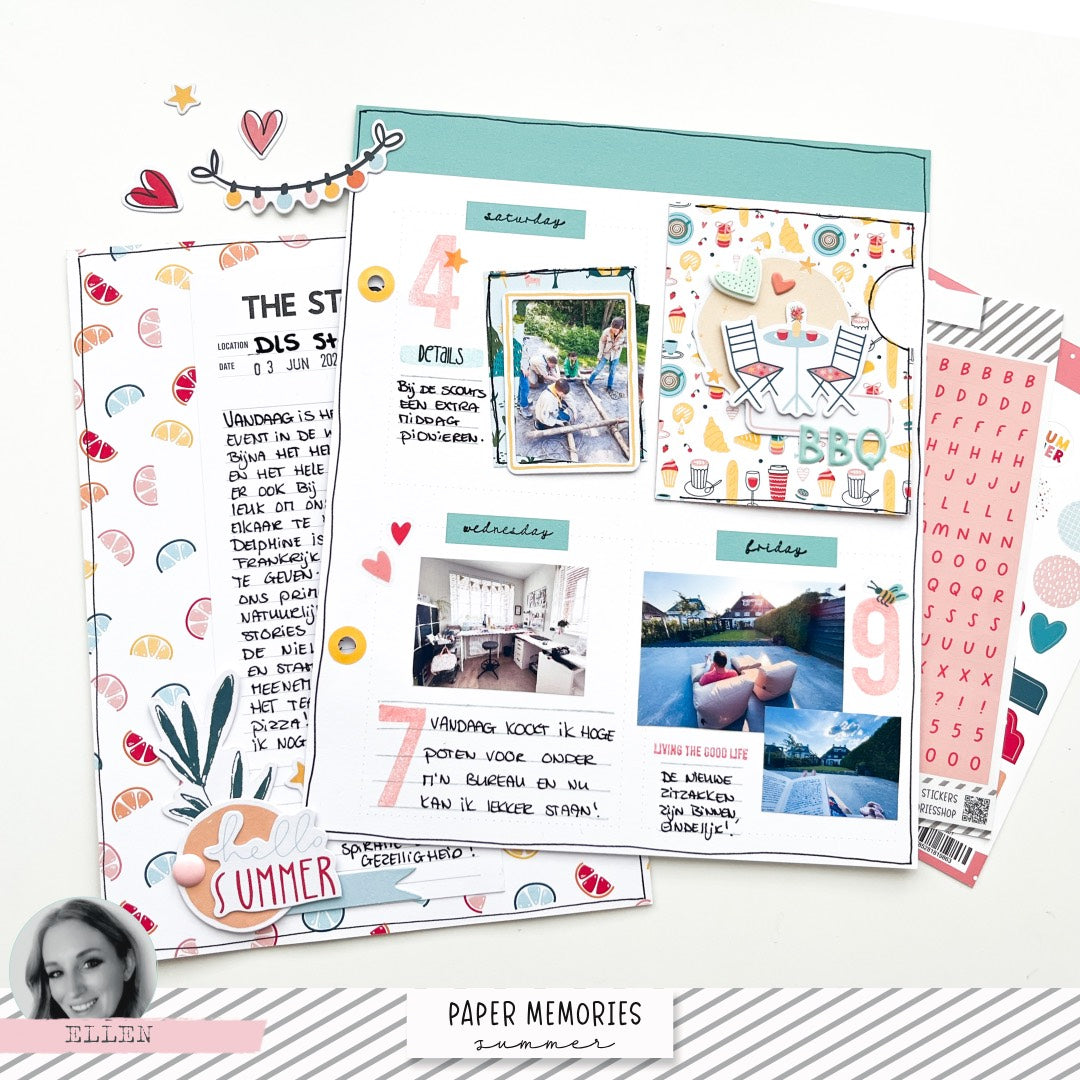
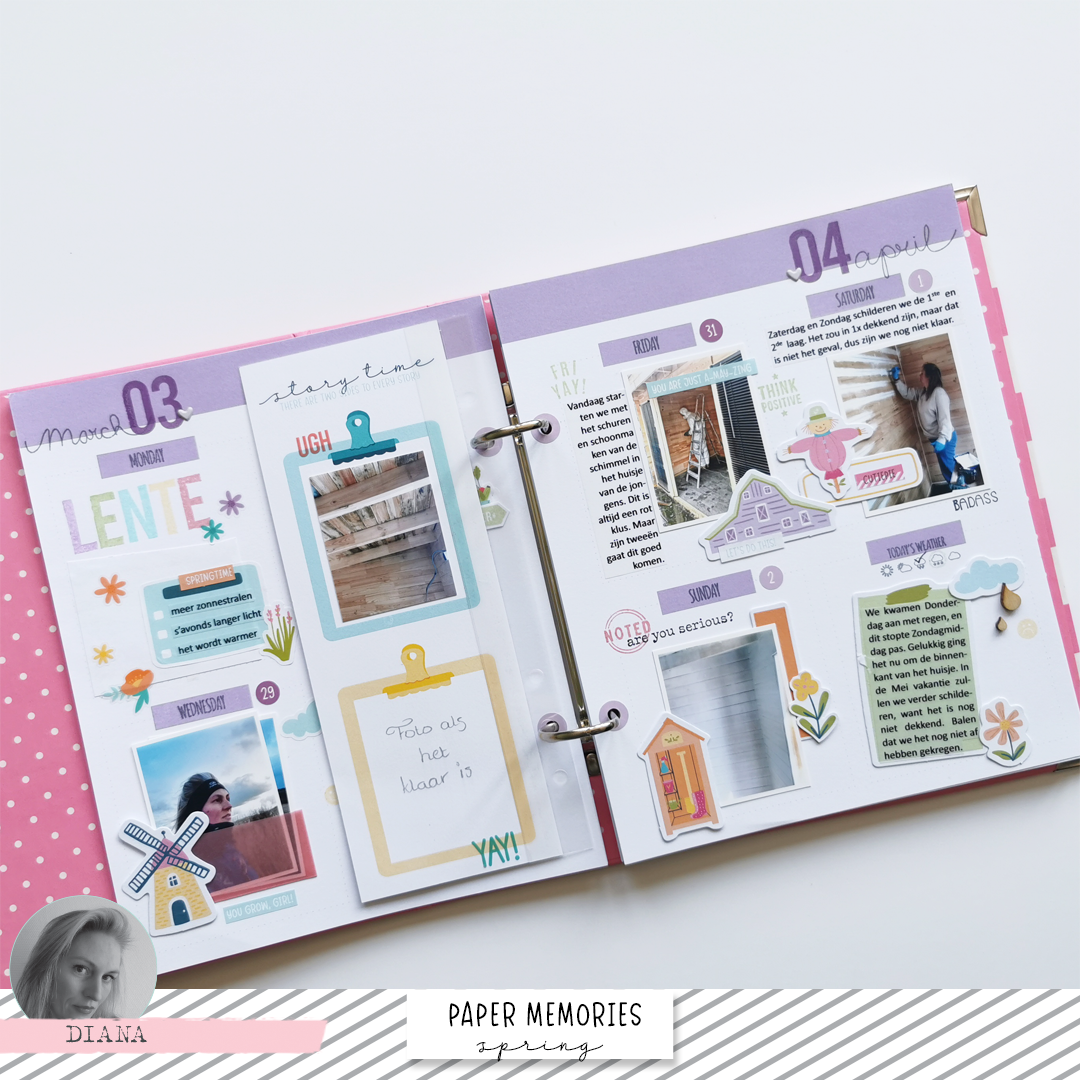
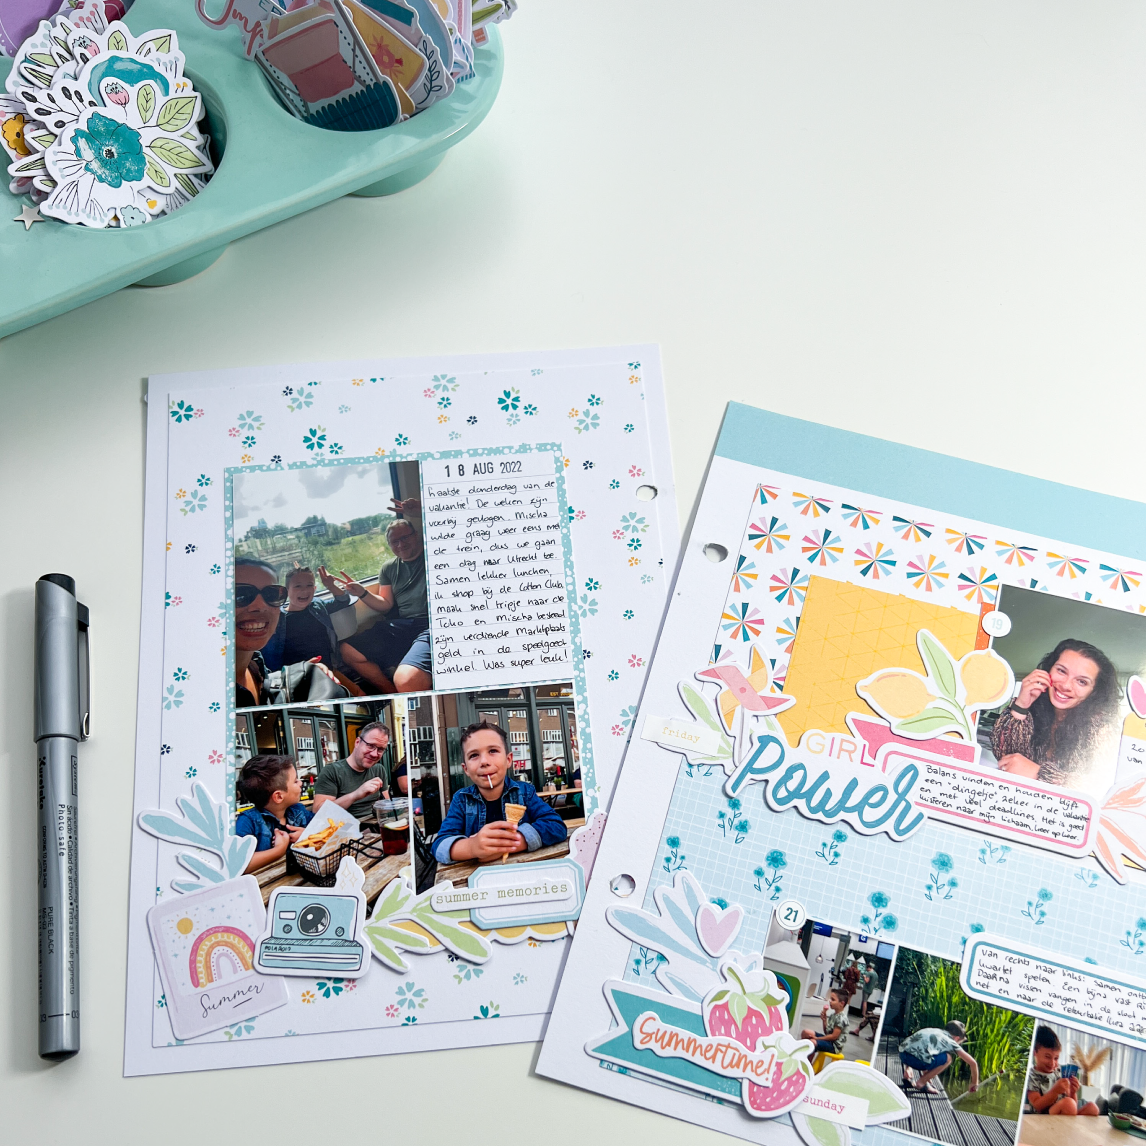
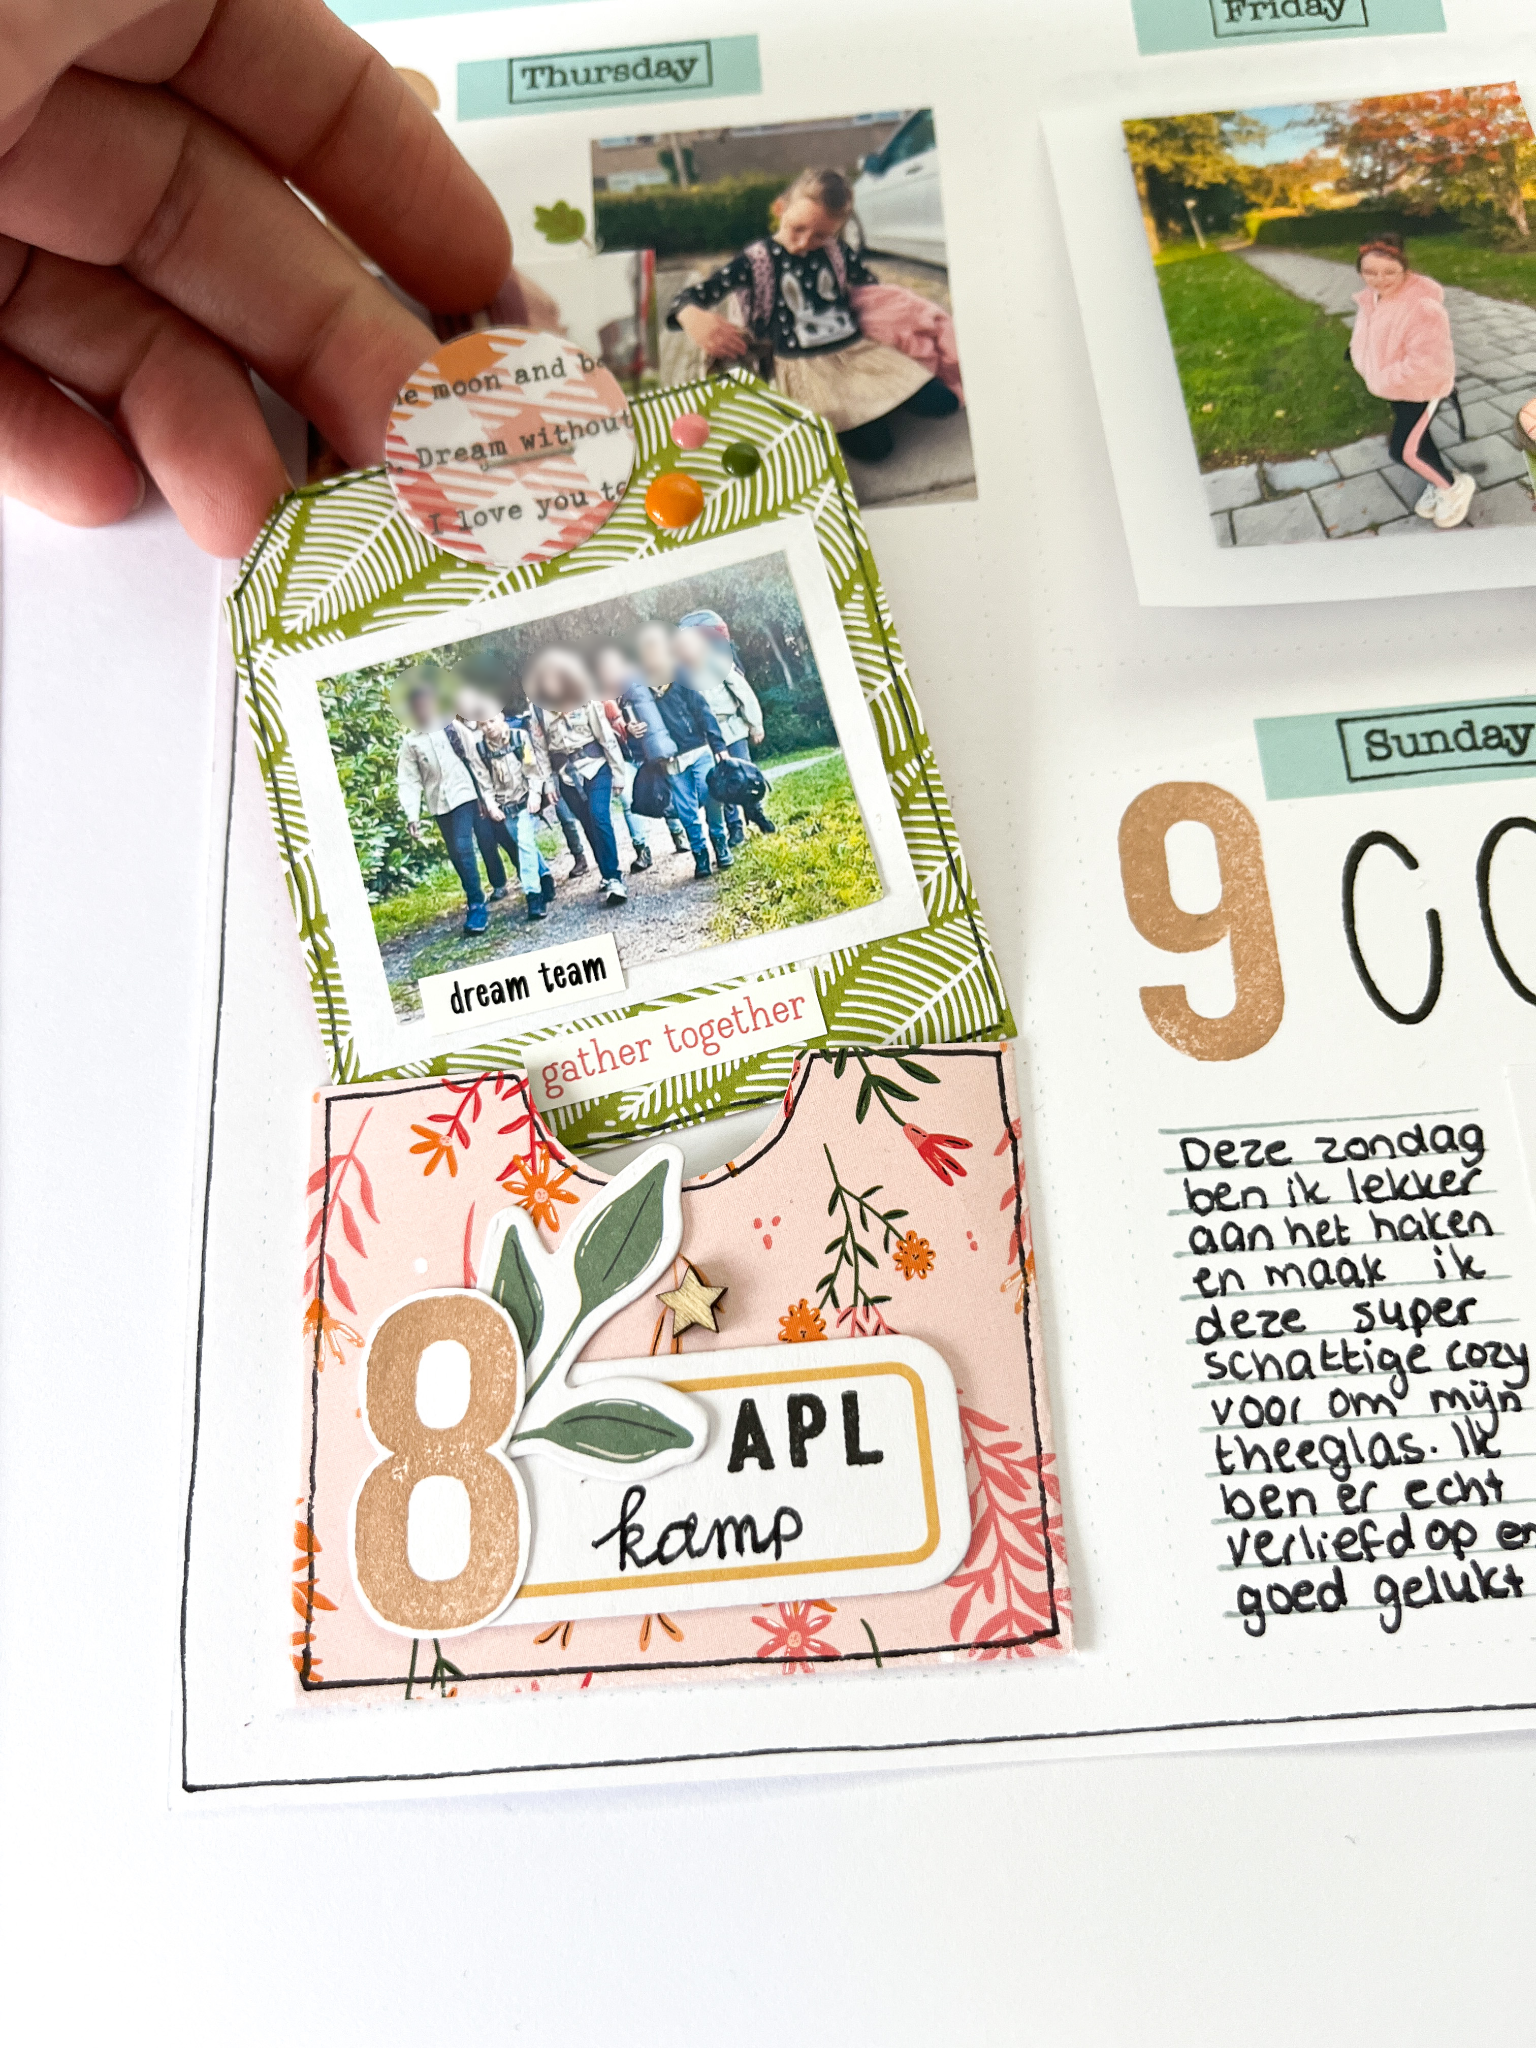
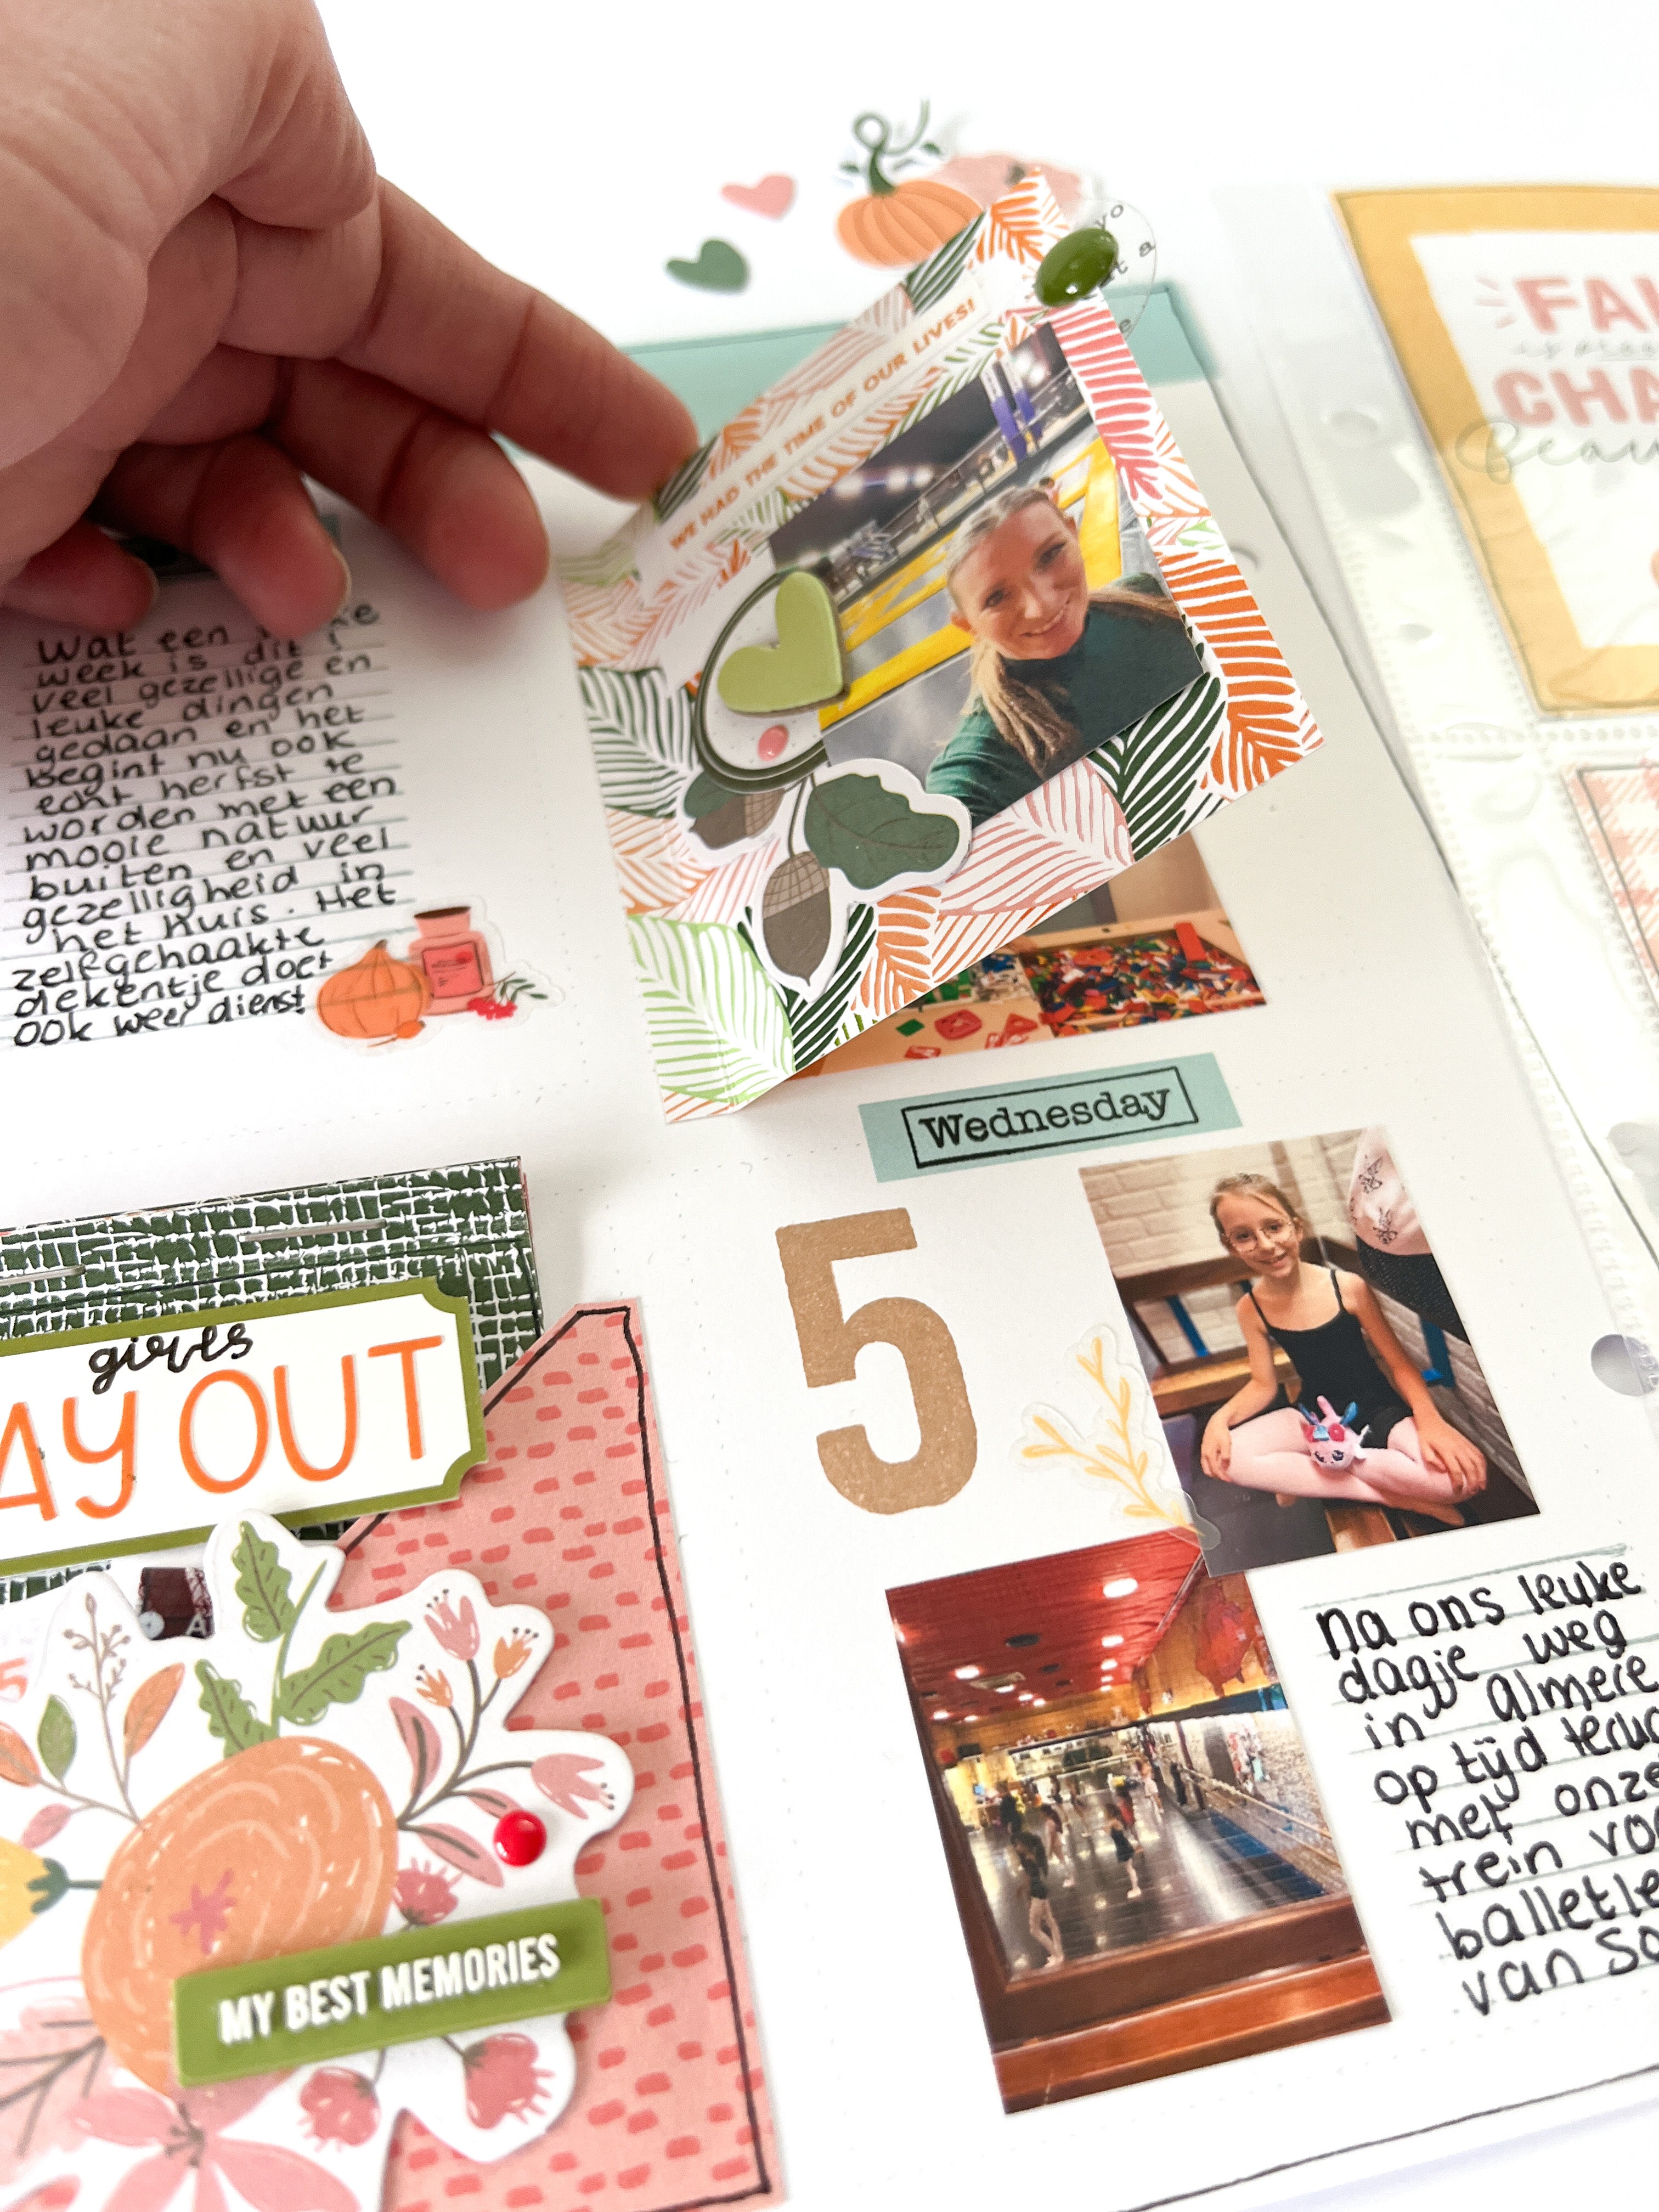
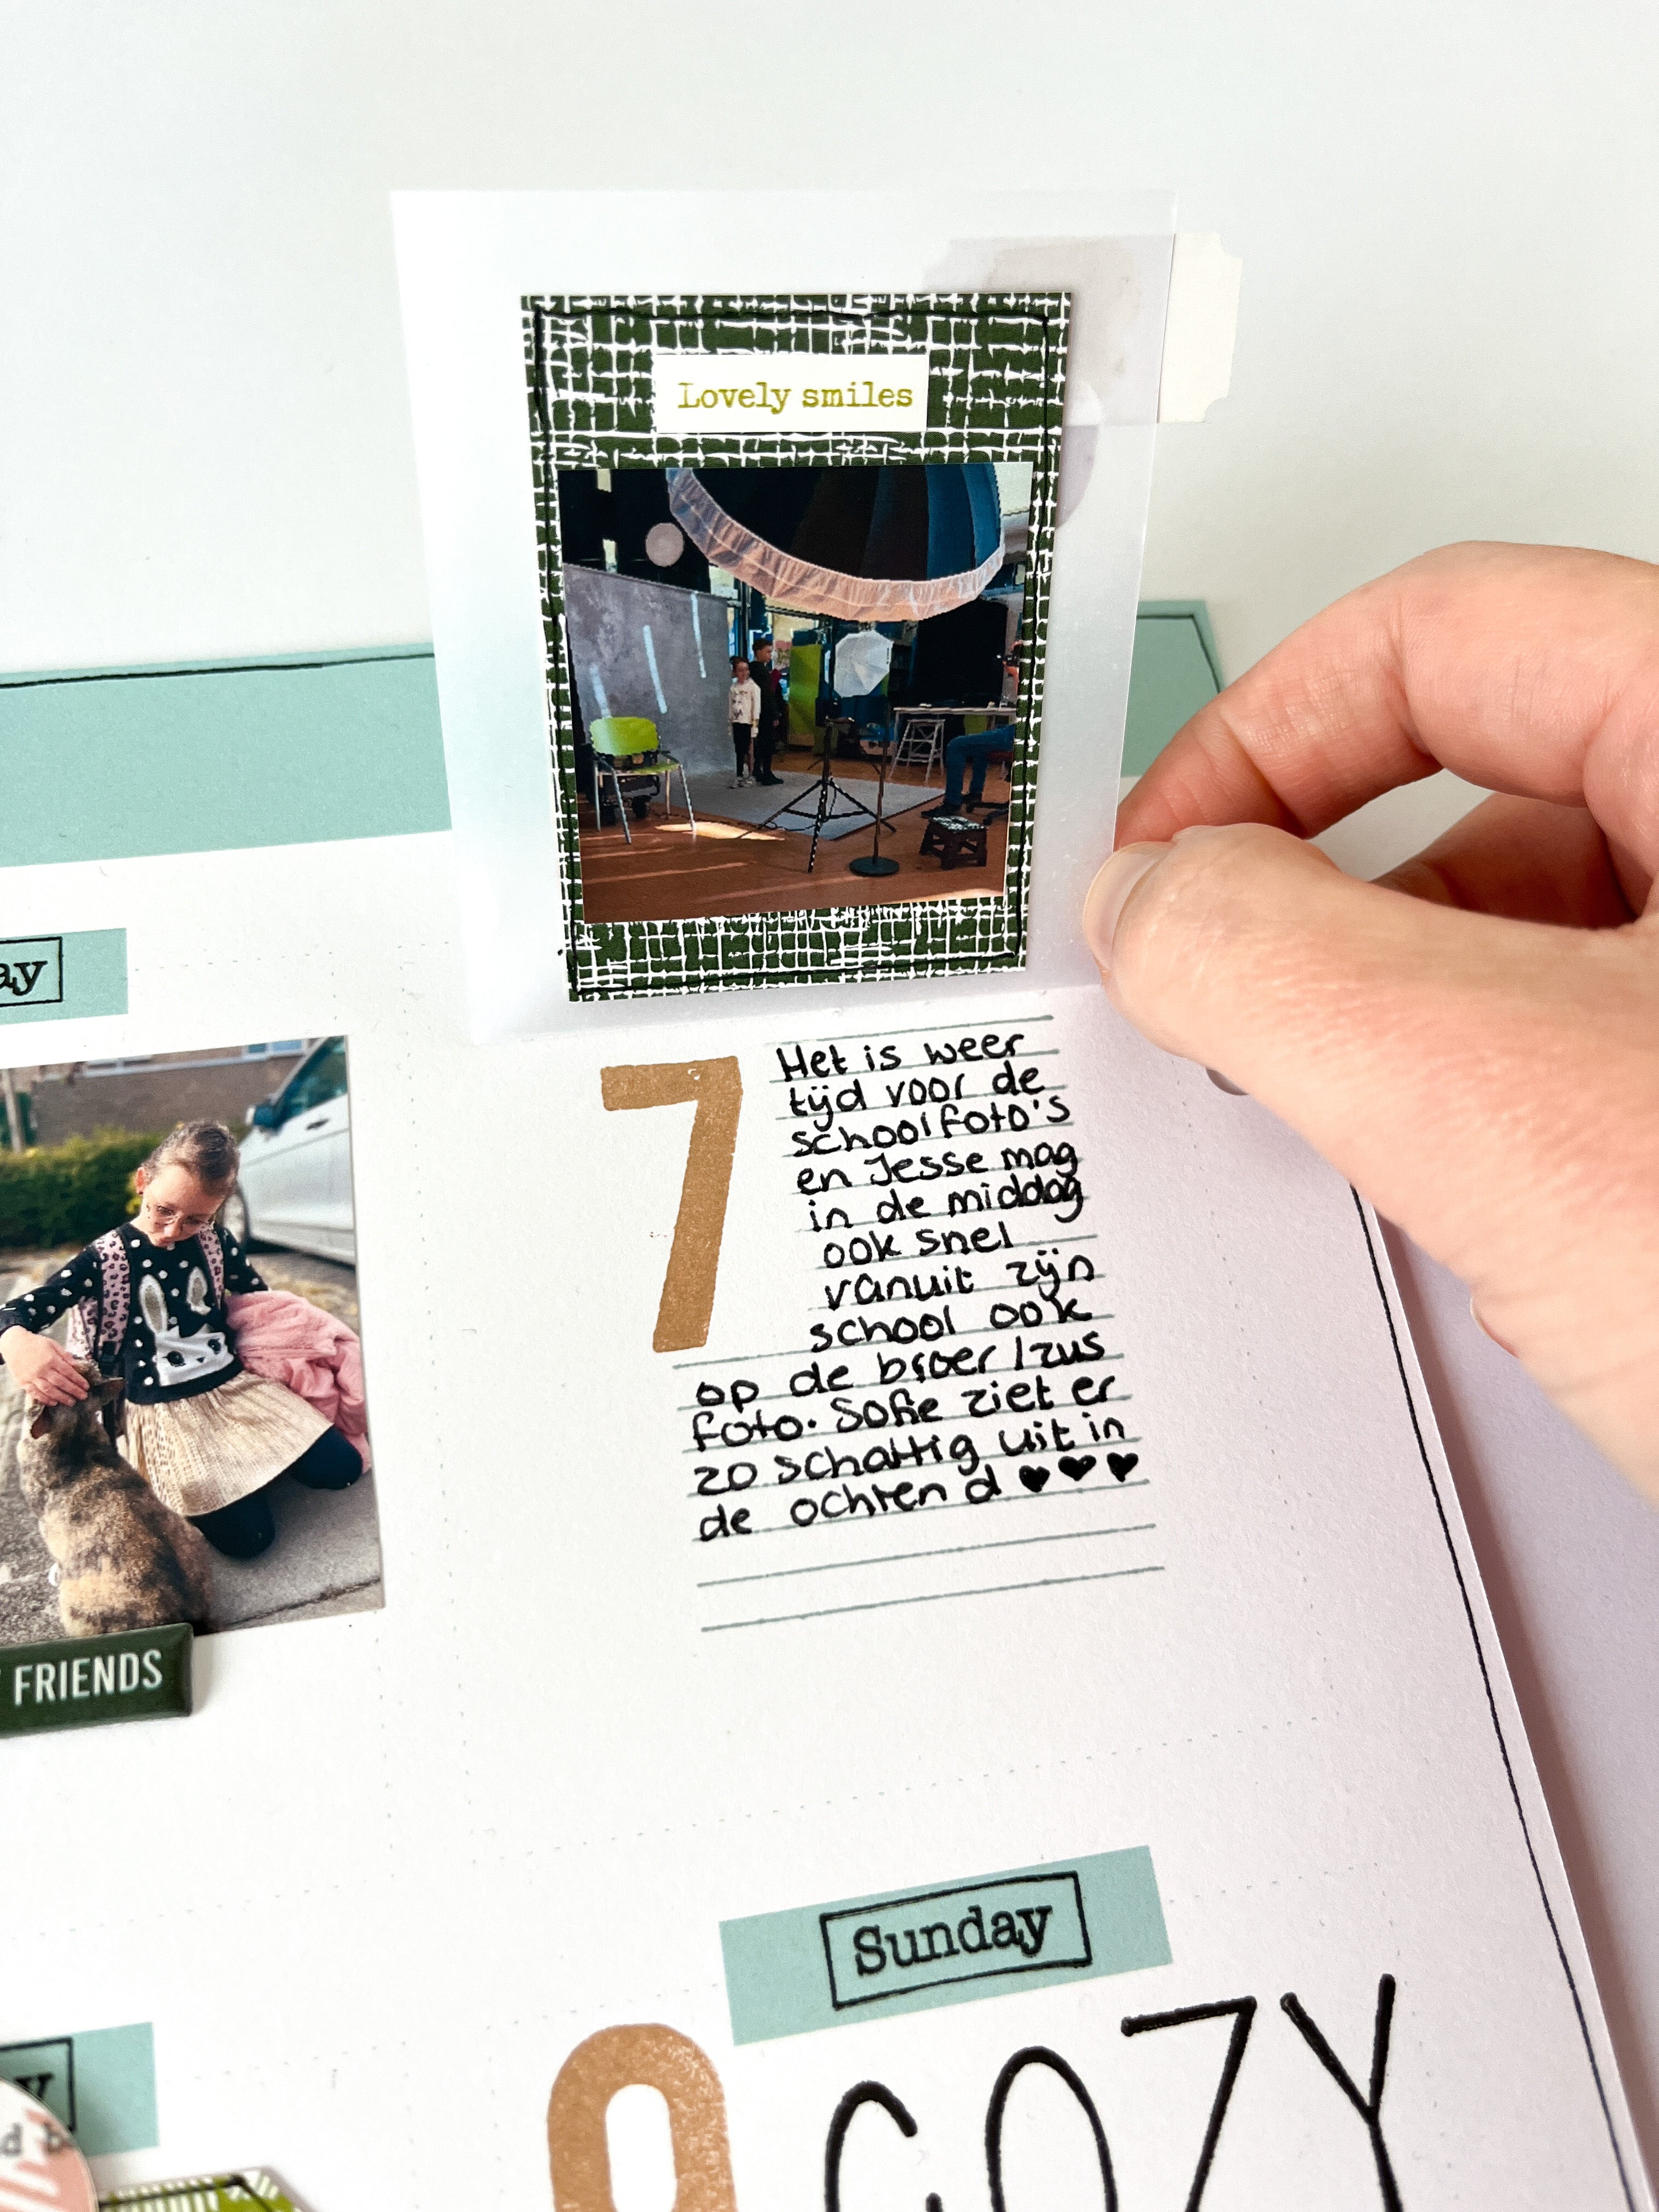
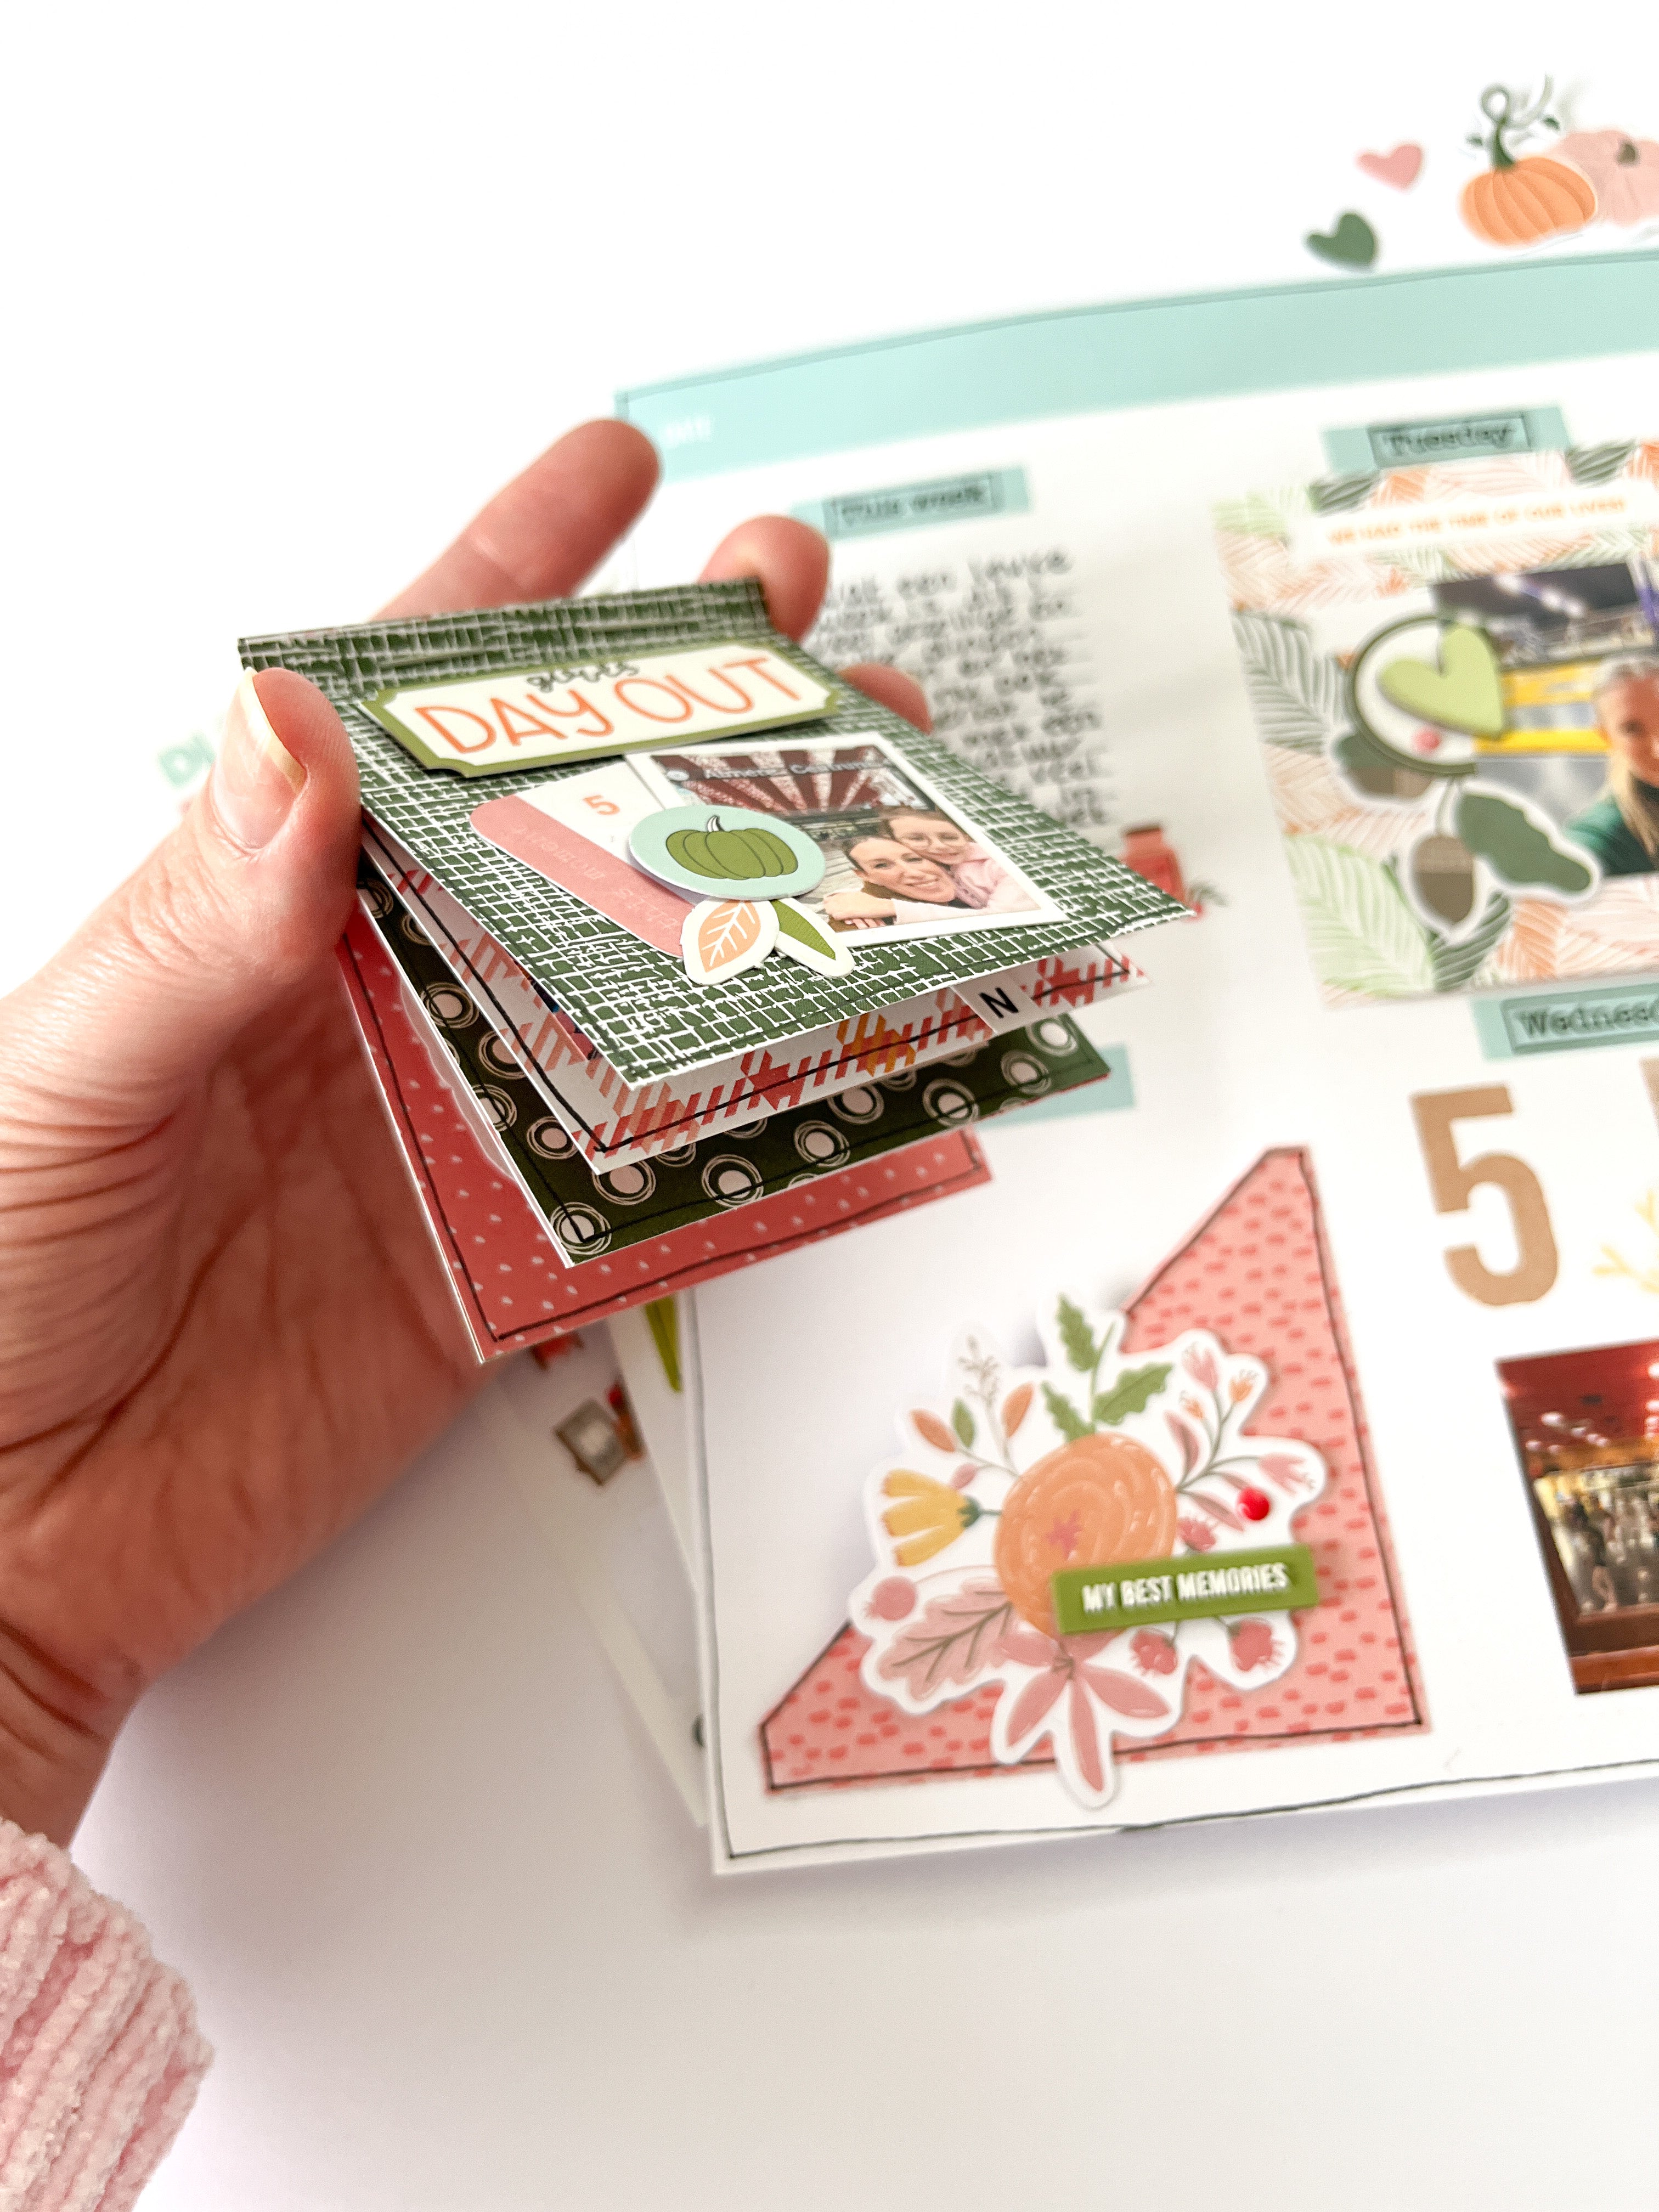
If you want to do more than just tell your story, the system lends itself perfectly to adding many different flaps, tabs, or pockets on your pages where you can incorporate photos, journaling, or other reminders. Look for some examples below!
In addition to the basic set of inserts, you can combine your heart's content by adding pocket pages, for example. These can be pocket pages of 6x8, but the 3x8 inch sleeves are also very nice.
You can also easily add different kinds of paper by making holes in them and if you like making scrapbook pages, these are also easy to add between the inserts in the album.
If you want to get even more creative, you can also use this system to quickly and easily create mini-books and add them to your insert.
As you can see the possibilities are endless from quick and basic to as creative as you want to make it and that is why so many people are enthusiastic about our Life Stories Insert system!
Start your Memory Keeping Journey
This is what you need
Extra Inspiration and Examples
Community
Our community is full of videos and pictures of different projects, especially for all those who want to get more inspiration.
We have several layers and options within the community.
Want to learn more regarding our community?
📌 There is an inspiration layer where you can see various projects step by step.
📌 There are several boards, where you and other members can post messages and photos.
- 📌 There is a Be Inspired layer, where 6 to 10 process videos are posted each month. Follow our team members step by step as they create a project.
- 📌 There is a Be Creative layer for everyone who wants to see and know more about certain projects and techniques. There are several monthly videos and workshops especially for subscribers.
Upcoming workshops